
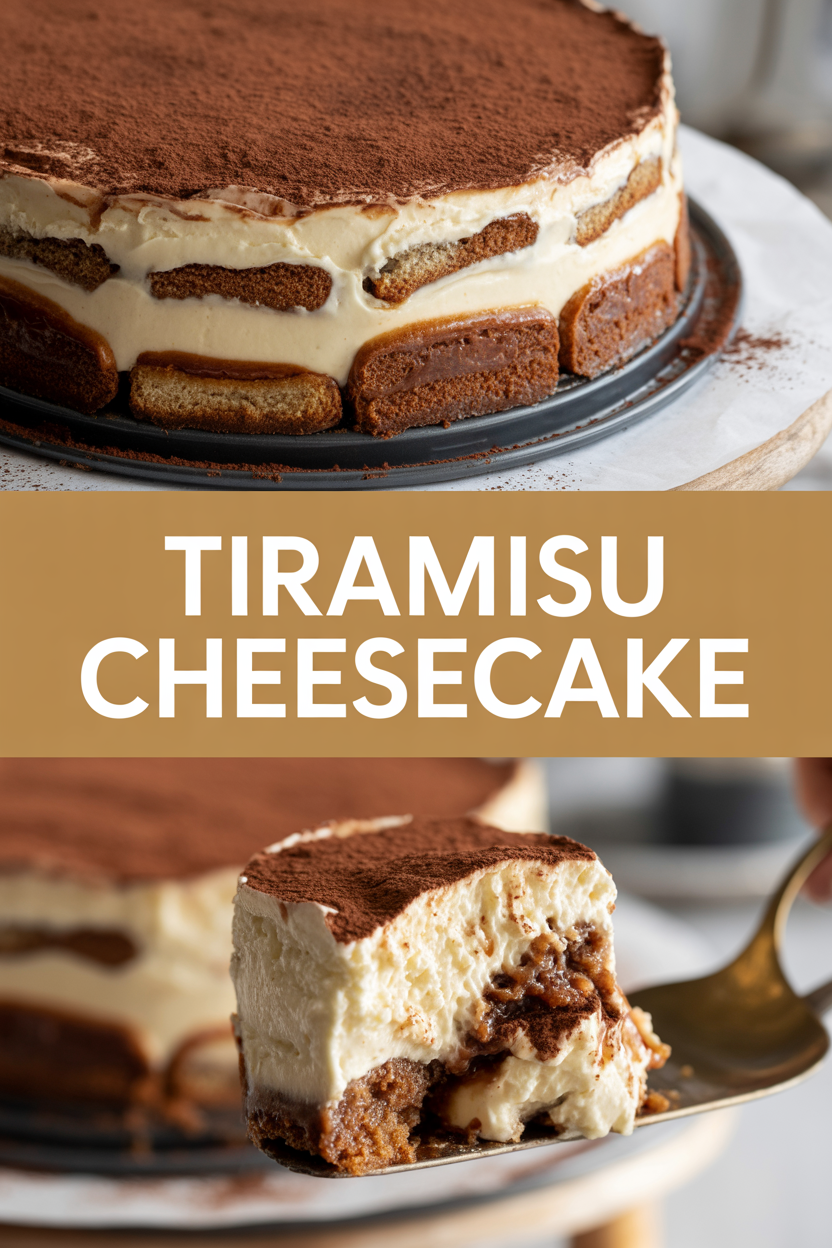
Chef’s Secret: Okay, lean in — I’m about to tell you a small kitchen sin I can’t resist: I nap my cheesecake filling with a splash of espresso and a wink of Kahlúa, then tuck in coffee-soaked ladyfingers so every bite tastes like tiramisu and cheesecake had a very good baby. I stumbled on this trick when I wanted tiramisu’s airy romance and cheesecake’s creamy comfort in one forkful. The result? A dense, velvety center streaked with coffee-soaked biscuit pockets and a cocoa-dusted crown that smells like a café at sunset. You’ll want to plan an overnight chill, but the hands-on time stays delightfully short.
Quick Facts
- Yield: Serves 10
- Prep Time: 30 minutes
- Cook Time: 60 minutes
- Total Time: 450 minutes (including 6 hours chilling)
Why This Recipe is Awesome
This Tiramisu Cheesecake delivers the best of both worlds: the tangy, creamy density of cheesecake and the airy, coffee-kissed romance of tiramisu. It slices clean, offers those surprise ladyfinger pockets, and finishes with a dusting of cocoa that makes it look bakery-fancy. It’s so easy even your oven can’t mess it up — and if you love coffee, chocolate, and silky textures, this dessert will sing.
Ingredients
For the Main Dish:
- Crust: 1 1/2 cups graham cracker crumbs (about 9 full crackers), 1/4 cup unsweetened cocoa powder, 6 tbsp unsalted butter, melted, 2 tbsp granulated sugar
- Filling: 24 oz cream cheese (three 8-oz packages), room temperature
- Filling: 8 oz mascarpone, room temperature
- Filling: 1 1/4 cups granulated sugar
- Filling: 3 large eggs + 1 large egg yolk, room temperature
- Filling: 1/2 cup heavy cream
- Filling: 2 tsp vanilla extract
- Filling: 2 tbsp coffee liqueur (optional)
- Ladyfingers: 24 store-bought ladyfingers (about 7 oz)
- Coffee Soak: 1 1/2 cups strong brewed espresso or very strong coffee, cooled; 3 tbsp granulated sugar; 2 tbsp Kahlúa or other coffee liqueur (optional)
For the Sauce / Garnish (if applicable):
- Unsweetened cocoa powder for dusting
- Chocolate shavings or curls (optional)
- Whipped cream (optional)
How I Make It
Step 1:
I preheat the oven to 325°F. I whisk together the graham cracker crumbs, cocoa powder, and sugar, then pour in the melted butter and stir until the mixture looks like damp sand. I press the crumbs into the bottom of a 9-inch springform pan, packing firmly with the bottom of a measuring cup so the crust holds. I bake the crust for about 8 minutes to set and let it cool while I make the filling.
Step 2:
I beat the cream cheese and mascarpone at medium speed until silky and lump-free, then add the sugar and scrape the bowl often. I add the eggs one at a time, mixing gently and stopping before the batter looks overstirred — you want a smooth, aerated texture, not bubble trouble. I fold in the heavy cream, vanilla, and coffee liqueur and taste to make sure the coffee note sings.
Step 3:
I set up the ladyfinger soak: stir the cooled espresso with the sugar until dissolved and add the Kahlúa if using. I briefly dip each ladyfinger — do not soak them like a sponge; one quick sub and a light squeeze keeps them delicate. I place a single layer of soaked ladyfingers over the cooled crust. They will look soft and glossy. I pour half the filling over the layer, smooth it, then add another quick layer of dipped ladyfingers for those hidden tiramisu pockets, and finish with the remaining filling.
Step 4:
I wrap the bottom of the springform pan in foil and place it in a roasting pan to create a water bath — I pour hot water into the roasting pan until it reaches about halfway up the springform. I bake at 325°F for 60 minutes, or until the edges look set and the center still gives a gentle jiggle like wobble-jello. The cheesecake will puff and slightly brown at the edges — that’s a good, golden signal.
Step 5:
I turn off the oven and crack the door open, letting the cheesecake rest inside for 30 minutes to cool slowly; this helps prevent cracks. Then I remove it from the water bath, run a thin knife around the edges, and chill in the fridge for at least 6 hours or overnight. Before serving, I dust the top generously with unsweetened cocoa powder and add chocolate shavings and whipped cream if I’m feeling fancy.
Pro Tips
- Use room-temperature cream cheese and eggs so the filling blends silky without overmixing.
- If you don’t have a water bath, bake the cheesecake on the lowest oven rack and place a small pan of hot water on the rack below to add moisture.
- Don’t over-dip ladyfingers — a quick dunk keeps them tender, not soggy. They should still hold together when you lay them down.
- Chill overnight for the cleanest slices; cold cheesecake cuts like silk.
Common Mistakes to Avoid
- Skipping preheating: Classic rookie move. It changes texture and bake time.
- Overmixing: Leads to dense or chewy results. Mix until just combined.
- Guessing cook time: Always use visual cues or a timer, not just vibes.
- Overcrowding pans: Give your food some breathing room to crisp properly.
Alternatives & Substitutions
- Swap mascarpone for an extra 8 oz cream cheese if you can’t find it; expect a slightly tangier flavor.
- Use gluten-free graham crackers and certified gluten-free ladyfingers for a gluten-free version; texture stays similar.
- For dairy-free: try vegan cream cheese + 1 cup coconut cream (chilled) and dairy-free ladyfingers or a gluten-free cookie crust; texture will lean lighter and a touch less tangy.
- Replace espresso with strong decaf for a caffeine-free dessert — same bold flavor without the buzz.
Variations & Tips
- Make mini tiramisu cheesecakes in a muffin tin for potlucks — reduce bake time to ~25–30 minutes.
- Add a layer of dulce de leche between filling layers for a caramel twist.
- Swap the cocoa-dusted top for a dark chocolate ganache for extra decadence.
- Make it boozy: up the Kahlúa to 1/4 cup for adults-only dessert hour.
- Kids-friendly: omit the Kahlúa and use extra espresso or coffee extract sparingly.
- For a lighter version, use Greek yogurt in place of half the heavy cream (slightly tangier and less rich).
FAQ (Frequently Asked Questions)
- Can I make this ahead of time?
- Yes! Make the cheesecake up to 2 days ahead and keep it tightly covered in the fridge. The flavors mellow and meld — I actually prefer it the next day.
- Can I double the recipe?
- Sure thing. Use two 9-inch pans or one 10–12 inch springform; baking time may increase by 10–20 minutes. Watch for the center to be just slightly jiggly.
- Can I substitute butter with oil?
- Technically yes, but you’ll miss that buttery magic. Use ¾ the amount of oil (so for 6 tbsp butter use about 4 1/2 tbsp oil) and expect a slightly different texture.
- How do I know it’s done?
- Look for set edges and a gently wobbly center — not liquid. The top should be matte, not glossy, and a thin knife near the center should come out mostly clean.
- What if I don’t have ingredient X?
- If you lack mascarpone, use extra cream cheese. If you don’t have ladyfingers, use lightly crushed sponge cake or soft savoiardi cookies. Small swaps won’t ruin the vibe.
How I Like to Serve It
I serve slices with a dusting of cocoa and a spoonful of unsweetened whipped cream — simple and elegant. This dessert pairs beautifully with a small cup of espresso or a glass of dessert wine. I bring it to holiday dinners and watch it disappear; it also makes weeknight celebrations feel special.
Notes
- Store leftover cheesecake covered in the fridge for up to 4 days. For longer storage, freeze slices wrapped tightly for up to 1 month.
- No meat temps here, but if you ever bake poultry, remember 165°F is the safe internal temp.
Final Thoughts
Closing: Now go impress someone — or just yourself — with your homemade masterpiece!