
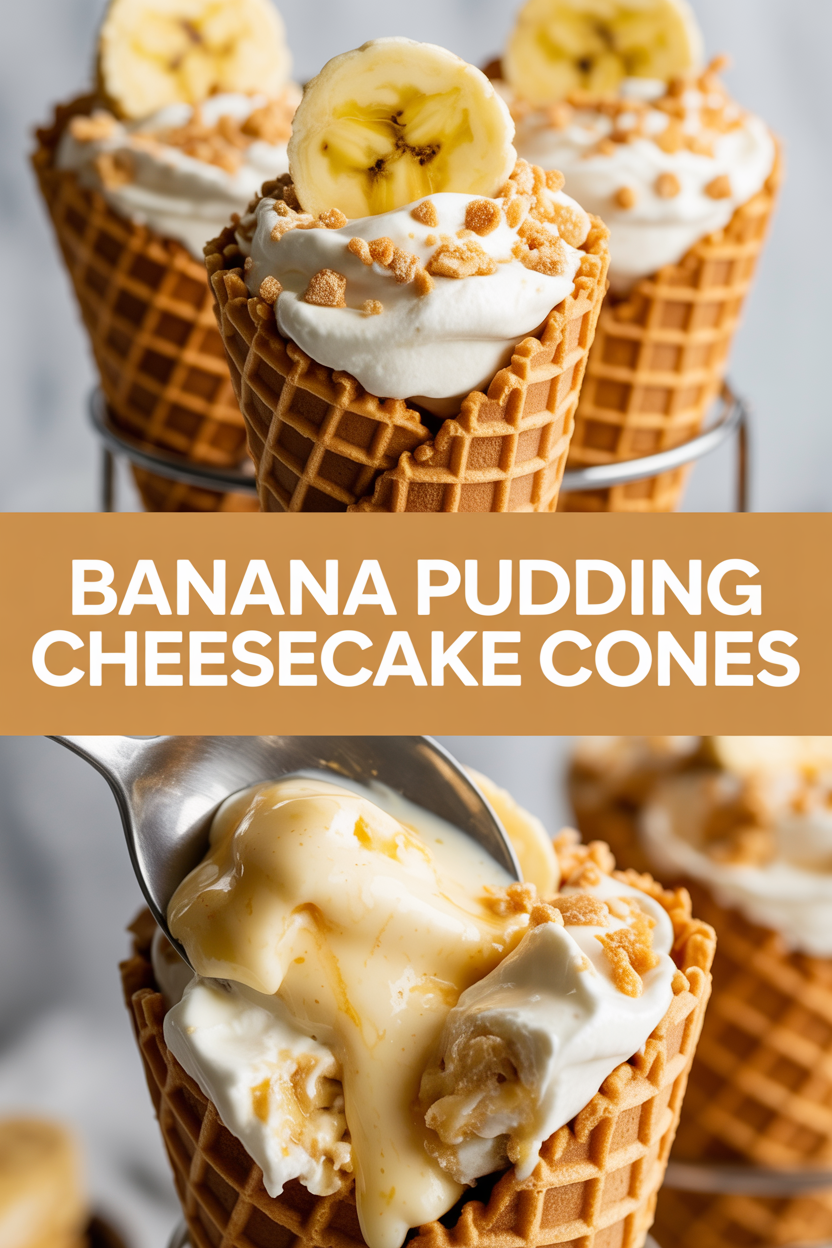
Chef’s whisper coming through: I’ll let you in on the tiny kitchen trick that turned my banana pudding obsession into a party-ready dessert. Think creamy cheesecake, ripe bananas, and the crunchy nostalgia of a cone — all handheld and outrageously fun. I started tinkering when I wanted something less fussy than a layered trifle but infinitely more indulgent than plain pudding. One afternoon of experiments and a few friends later, I cracked the code: a silky, tangy cheesecake filling that plays perfectly with banana slices and crushed vanilla wafers, tucked into waffle cones like tiny edible bouquets. If you love contrasts — soft vs. crunchy, sweet vs. tangy — you’ll want to keep a batch of these in your fridge rotation.
Quick Facts
- Yield: Serves 8
- Prep Time: 25 minutes
- Cook Time: 0 minutes (no baking)
- Total Time: 85 minutes (includes chilling)
Why This Recipe is Awesome
Because it marries creamy, tangy cheesecake filling with the bright sweetness of bananas and the satisfying crackle of a waffle cone. It looks fancy, tastes nostalgic, and requires no oven drama. Bonus: you get crunchy edges and silky filling in every bite — who doesn’t love that? This one feels celebratory but actually comes together on a weeknight.
Ingredients
For the Main Dish:
- 8 oz cream cheese, softened to room temperature
- 1 cup heavy whipping cream, cold (to whip)
- 1/2 cup powdered sugar
- 1/2 cup sweetened condensed milk
- 2 tsp vanilla extract
- 1 tbsp fresh lemon juice (brightens the filling)
- 3 ripe but firm bananas
- 8–10 waffle cones (or sugar cones), sturdy ones
- 1 cup crushed vanilla wafers (like Nilla)
- Optional: 1/4 cup chopped pecans or banana chips for crunch
- Optional garnish: melted chocolate or caramel for drizzling
For the Sauce / Garnish (if applicable):
- Optional caramel sauce: store-bought or 1/2 cup caramel warmed for drizzling
- Optional melted chocolate: 2 oz chocolate, melted and slightly cooled
How I Make It
Step 1:
I start by making the cheesecake filling. Beat the softened 8 oz cream cheese with 1/2 cup powdered sugar until ultra-smooth and creamy — scrape the bowl so no lumps hide. Add 1/2 cup sweetened condensed milk, 2 tsp vanilla, and 1 tbsp lemon juice and keep beating until everything smells sweet and bright. This filling should taste tangy-sweet and silky on your spoon.
Step 2:
Next I whip the 1 cup heavy cream with a small splash of vanilla until soft peaks form. Fold the whipped cream gently into the cream cheese mixture to keep the filling light and airy. Don’t overfold — stop when you see a uniform, fluffy texture. Overmixing kills the cloud.
Step 3:
I slice the 3 bananas into 1/4-inch rounds and toss them with a little lemon juice to prevent browning. I set the waffle cones upright in a muffin tin or a cone stand so they stay steady. Sprinkle a tablespoon of crushed vanilla wafers into the bottom of each cone for a crunchy base.
Step 4:
Now the fun assembly: spoon a layer of filling, add a few banana slices, then a sprinkle of crushed wafers. Repeat until the cone fills but leaves a little room at the top for garnish. Press gently so layers settle and you hear that faint, satisfying cone creak. If you like, drizzle melted chocolate or warm caramel over the top and finish with chopped pecans or banana chips for texture.
Step 5:
Chill the assembled cones upright for at least 1 hour so the filling sets and flavors meld. Serve cold from the fridge and watch people’s faces light up when they bite into creamy, banana-studded goodness inside a crunchy cone.
Pro Tips
- Soften your cream cheese at room temperature for 30–45 minutes; it blends smoother and faster.
- Chill the whipped cream bowl for 10 minutes in the freezer if your kitchen runs warm; cold cream whips up firmer.
- Assemble cones just before serving if you want maximum crunch — filled cones keep best for about 24 hours in the fridge.
- For neater filling, transfer the cheesecake mix to a piping bag and pipe into cones like a pro.
Common Mistakes to Avoid
- Skipping preheating: Classic rookie move. It changes texture and bake time.
- Overmixing: Leads to dense or chewy results. Mix until just combined.
- Guessing cook time: Always use visual cues or a timer, not just vibes.
- Overcrowding pans: Give your food some breathing room to crisp properly.
Alternatives & Substitutions
- Swap cream cheese for mascarpone for a silkier, less tangy filling; flavor shifts slightly milder.
- Use coconut whipped cream and vegan cream cheese for a dairy-free option — texture changes but still delicious.
- Replace vanilla wafers with gluten-free cookies or crushed graham crackers for a gluten-free cone option.
- If you’re out of sweetened condensed milk, stir 1/3 cup sugar into 1/2 cup evaporated milk and reduce slightly over low heat until thickened (or use extra powdered sugar and a splash more cream).
Variations & Tips
- Chocolate Banana: Fold 2 tbsp cocoa powder into the filling and add mini chocolate chips for a choco-banana combo.
- Bananas Foster Twist: Sauté banana slices in 2 tbsp butter and 1 tbsp brown sugar for 1 minute, cool, then assemble for a caramelized bite.
- Mini Party Cones: Use mini cones for bite-size party snacks — fill with a teaspoon of filling and top with a candied nut.
- Boozy Adult Version: Macerate banana slices in 1 tbsp dark rum for 10 minutes before assembling (skip for kids).
- Nuts & Crunch: Add toasted pecans or crushed pretzels on top for salty balance.
FAQ (Frequently Asked Questions)
- Can I make this ahead of time?
- Yes! Prepare the cheesecake filling up to 48 hours ahead and store in an airtight container in the fridge. Slice bananas just before assembling to keep them fresh, or toss slices in lemon juice and assemble up to 24 hours ahead for convenience.
- Can I double the recipe?
- Sure thing. Double everything and keep extra filling chilled in the fridge. You won’t need to change assembly method, but allow extra chilling space in the fridge so cones sit upright without tipping.
- Can I substitute butter with oil?
- Technically yes, but you’ll miss that buttery magic. Use ¾ the amount of oil in recipes that call for melted butter; in this dessert, butter only appears in optional caramelized bananas.
- How do I know it’s done?
- For this no-bake treat, you’ll know it’s ready when the filling feels set after chilling and layers hold their shape when you bite — the cone should stay crisp and the filling should feel airy but not runny.
- What if I don’t have ingredient X?
- If you lack vanilla wafers, use graham crackers or crushed digestive biscuits. No sweetened condensed milk? Use extra powdered sugar and a splash of cream to thicken the filling, or try mascarpone with a touch of honey.
How I Like to Serve It
I serve these at summer barbecues, birthday parties, or when friends pop over unexpectedly — they travel well to a picnic if you keep them chilled. Pair with cold brew coffee, sweet tea, or a sparkling lemonade. They feel playful, so I always make extras for kids and adults alike.
Notes
- Store assembled cones upright in the fridge for up to 24 hours. Fill just before serving for the crispiest cone.
- No meat here — no safe internal temps needed. If you serve alongside grilled meats, remember 165°F for cooked chicken.
Final Thoughts
Closing: Go make these Banana Pudding Cheesecake Cones and enjoy every crunchy, creamy bite — then tell me who you impressed (or traded one with) at your next get-together!