
Chef’s secret coming at you: if you want the easiest candy that tastes like a homemade Almond Joy bar without the assembly-line fuss, this is it. I stumbled on this trick during a late-night baking experiment—mix shredded coconut with sweetened condensed milk, press an almond into the center, chill, and dip in glossy chocolate—and honestly, my friends started a petition. These truffles balance chewy coconut, a crunchy toasted almond, and a shiny chocolate shell that snaps just right. They smell like warm coconut and dark chocolate the minute you dip them; you’ll want to eat one warm off the rack (do it). I’ll walk you through every little step, including how to rescue a split chocolate dip and how to keep the coconut filling from getting too sticky.
Quick Facts
- Yield: Makes about 24 truffles (serves 12)
- Prep Time: 20 minutes active
- Cook Time: 0 minutes (plus chilling)
- Total Time: 1 hour 20 minutes (including 1 hour chill)
Why This Recipe is Awesome
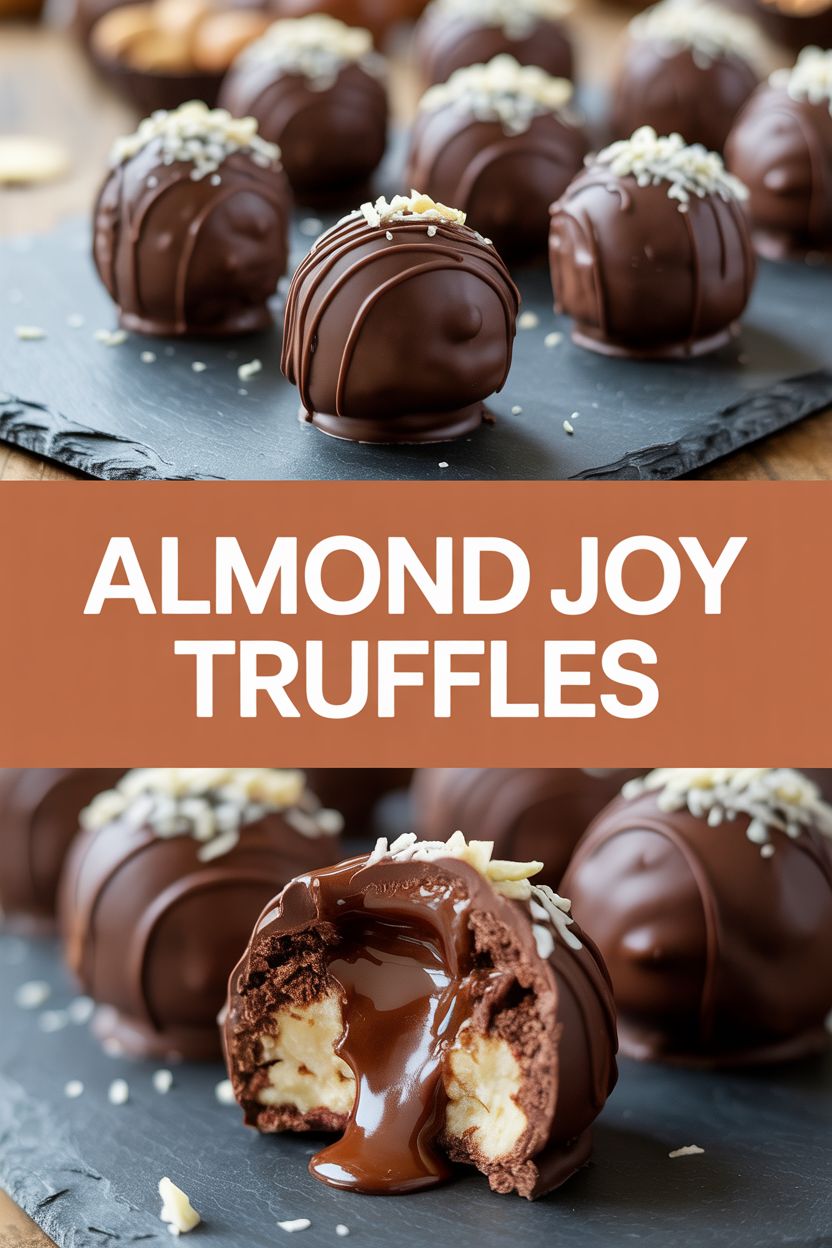
Because it takes the best parts of an Almond Joy (chewy coconut, a single crunchy almond, and a chocolate coating) and turns them into bite-sized, fancy-looking truffles with almost zero fuss. The texture sings: a tender, coconut center, a toasty almond surprise, and a snap of chocolate. It’s so simple even your friends will think you used a candy thermometer and a professional mold—nope, just a bowl, a spoon, and a little patience. Plus, you get to lick the spoon. Who doesn’t love that?
Ingredients
For the Main Dish:
- 3 cups shredded sweetened coconut (not coconut flakes)
- 14 oz can sweetened condensed milk
- 1 tsp vanilla extract
- Pinch of fine sea salt
- 24 whole roasted almonds (or raw almonds you toast yourself)
- 12 oz semi-sweet chocolate chips or chopped chocolate
- 1 tbsp coconut oil (optional, for shinier chocolate)
For the Sauce / Garnish (if applicable):
- Flaky sea salt, melted dark chocolate for drizzling, or crushed toasted almonds for rolling (all optional)
How I Make It
Step 1:
In a medium bowl, stir together the 3 cups shredded sweetened coconut, the entire 14 oz can of sweetened condensed milk, 1 tsp vanilla extract, and a pinch of salt. The mixture will feel sticky and glossy—perfect. If it looks dry, add a teaspoon of condensed milk at a time. Scoop a tablespoon-sized mound into your hand; the coconut should hold together easily.
Step 2:
Press a roasted almond into the center of each mound, then roll the coconut around it to form a neat ball. If your hands get too sticky, chill them or lightly oil your palms. Place the balls on a parchment-lined baking sheet and pop them into the fridge for 1 hour to firm up. This chilling is the real trick—cold centers dip more cleanly and prevent chocolate from seeping in.
Step 3:
When the centers are firm, melt the 12 oz chocolate with 1 tbsp coconut oil in 20–30 second bursts in the microwave, stirring between each burst until smooth and silky. If you prefer stovetop, use a double boiler and stir until the chocolate reaches about 115°F on a candy thermometer. The chocolate should be glossy and pourable, not grainy or dry.
Step 4:
Use a fork or dipping tool to lower each chilled coconut ball into the melted chocolate, tapping off excess on the edge of the bowl. You’ll hear a quiet clink as the chocolate sets on the cold surface—music to my ears. Return the dipped truffles to the parchment and, while the chocolate is still tacky, press a tiny sprinkle of flaky sea salt or a pinch of crushed toasted almond on top if you like contrast.
Step 5:
Let the truffles set at room temperature for about 10–15 minutes, then transfer to the fridge for another 15–20 minutes if you want an extra firm shell. Once set, store in an airtight container in the fridge for up to two weeks or freeze for longer. Bring to cool room temp for 10 minutes before serving so the flavors bloom.
Pro Tips
- If the chocolate seizes (gets grainy), stir in 1 tsp warm coconut oil at a time until it smooths out. Gentle heat helps, not force.
- Toast raw almonds at 350°F for 8–10 minutes until fragrant and golden—smell is your guide. Toasting deepens flavor and gives that cookie-like snap.
- Use chilled hands or lightly oil your palms when rolling to keep the filling tidy and uniform in size.
- For ultra-smooth chocolate, temper it or add a little coconut oil—tempering gives perfect shine and snap, but the oil shortcut works in a pinch.
Common Mistakes to Avoid
- Skipping preheating: Classic rookie move. It changes texture and bake time.
- Overmixing: Leads to dense or chewy results. Mix until just combined.
- Guessing cook time: Always use visual cues or a timer, not just vibes.
- Overcrowding pans: Give your food some breathing room to crisp properly.
Alternatives & Substitutions
- Use unsweetened shredded coconut with 2–3 tbsp honey or maple syrup if you prefer less sweetness; texture will be slightly drier.
- Swap semi-sweet chocolate for milk chocolate for a sweeter, creamier shell; dark chocolate makes the flavors feel richer.
- Dairy-free option: use canned sweetened condensed coconut milk and dairy-free chocolate chips—truffles remain chewy and delicious.
- Nut-free variation: replace the almond center with a chocolate chip or a little spoonful of nut-free seed butter (sunflower) to keep a surprise center without nuts.
Variations & Tips
- Add 1–2 tbsp cocoa powder to the coconut mixture for a chocolate-coconut version.
- For a boozy adult twist, stir in 1 tbsp rum or bourbon to the filling for warming aroma (skip for kids).
- Roll truffles in finely chopped toasted almonds instead of dipping for a rustic look.
- Mix in a tablespoon of orange zest for a bright, citrus-kissed truffle.
- Make a crunchy exterior: after dipping, immediately roll in toasted coconut flakes for texture contrast.
- For a vegan crowd, use dairy-free chocolate and sweetened condensed coconut milk.
FAQ (Frequently Asked Questions)
- Can I make this ahead of time?
- Yes! Make the coconut centers up to 3 days ahead and keep them chilled. Dip in chocolate the day you plan to serve for the freshest snap. Fully dipped truffles store in the fridge for up to two weeks or freeze for up to 3 months.
- Can I double the recipe?
- Sure thing. Use a larger bowl and a second sheet pan for chilling. Dipping takes a bit longer with more truffles, so work in batches to keep the chocolate temperature steady.
- Can I substitute butter with oil?
- Technically yes, but you’ll miss that buttery magic. Use ¾ the amount of oil if swapping in a recipe that calls for butter.
- How do I know it’s done?
- The centers should feel firm after chilling and the chocolate shell should be glossy and set with a slight snap when broken. If the chocolate looks dull or soft, chill another 10–15 minutes.
- What if I don’t have ingredient X?
- Out of sweetened condensed milk? Use 14 oz of sweetened condensed coconut milk for a dairy-free swap or mix 1 cup heavy cream reduced on the stove until thick—safer to stick with condensed milk for stability.
How I Like to Serve It
I love arranging these truffles on a small platter with dusted cocoa, a few toasted almonds, and a sprig of mint for contrast. They make a perfect hostess gift or a sweet note after a weeknight dinner. Pair them with coffee, a glass of milk, or dark rum if you went boozy. They shine at holiday parties, movie nights, or whenever you need a little chocolate cheer.
Notes
- Store in an airtight container in the fridge for up to two weeks; freeze for longer. Thaw in the fridge before serving.
- No meat temps here, but if you toast almonds in the oven, keep an eye on them—nuts go from golden to burnt fast.
Final Thoughts
Closing: Now go impress someone — or just yourself — with your homemade Almond Joy truffles. They look special, taste decadent, and require only a little love in the kitchen. Enjoy!