
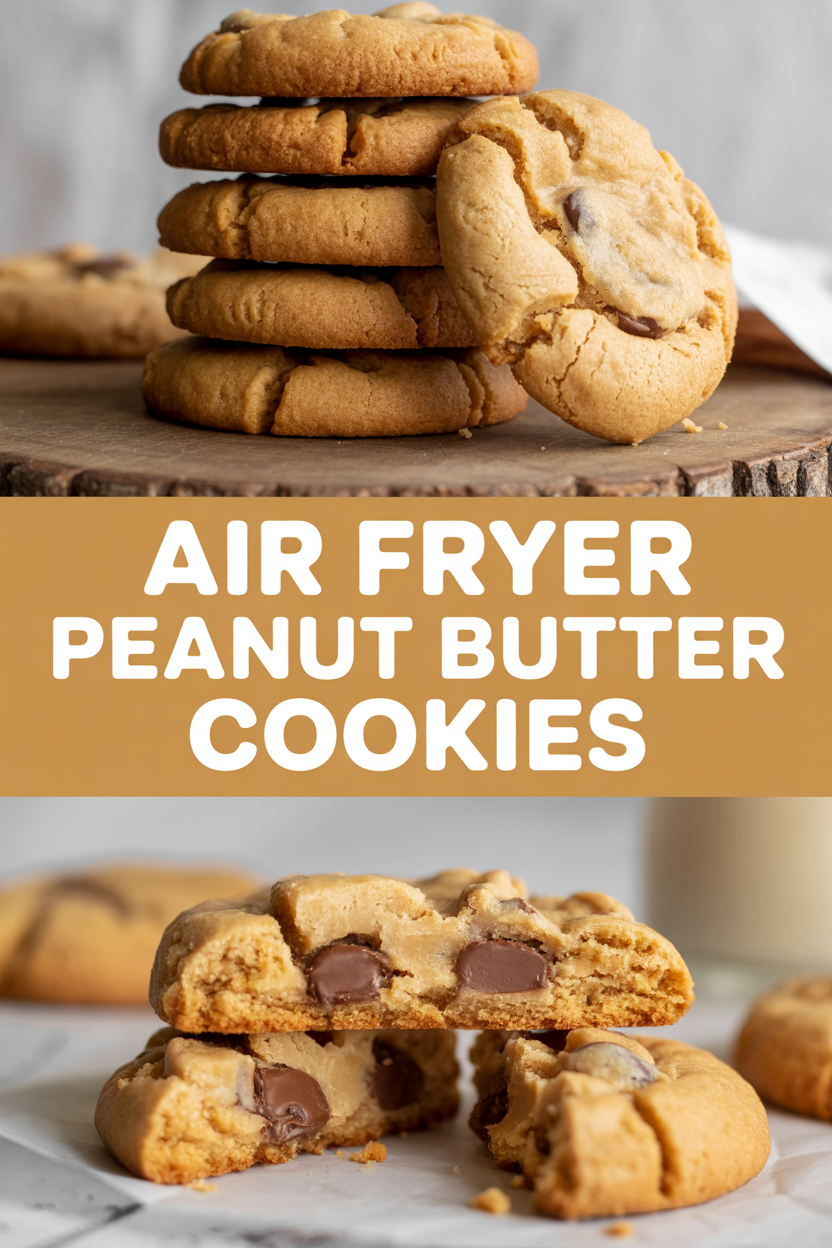
I promise I’m not trying to convince you that cookies are a main food group, but these air fryer peanut butter cookies will have you questioning basic life choices — in a good way. I honestly laughed the first time I realized you can make perfectly crinkly, slightly chewy peanut butter cookies in an air fryer in under ten minutes. The kitchen smells like warm peanuts and brown sugar in about two minutes flat, and before your Netflix episode finishes you’ll have a plate of golden, fork-cross-hatched discs ready for dunking. If you like a crisp edge and a soft, peanut-buttery center (who doesn’t?), this little recipe will become your secret “I have guests in 20 minutes” trick. Trust me — you’ll smile when you taste that warm, slightly salty bite.
Quick Facts
- Yield: Serves 12 (about 12–14 cookies)
- Prep Time: 10 minutes
- Cook Time: 6–8 minutes per batch at 350°F
- Total Time: 25 minutes (including a couple of batches)
Why This Recipe is Awesome
These cookies come together with just a few pantry staples and zero flour — yes, really. They get a crackly top, crisp edges, and a soft, peanut-buttery center that oozes aroma when you break one open. The air fryer gives you fast, even browning and that toasty peanut smell that fills the whole house. It’s so easy even your oven will feel jealous. Plus, you don’t dirty a dozen bowls; one mixing bowl, one cookie scoop, and you’re golden.
Ingredients
For the Main Dish:
- 1 cup smooth peanut butter (creamy, not natural-drippy)
- 3/4 cup granulated sugar
- 1/4 cup packed brown sugar
- 1 large egg, room temperature
- 1 tsp vanilla extract
- 1 tsp baking soda
- 1/4 tsp fine salt (omit if your peanut butter is very salty)
- Optional: 2 tbsp melted unsalted butter or neutral oil for extra richness
- Optional garnish: flaky sea salt or mini chocolate chips
For the Sauce / Garnish (if applicable):
- Optional: 2 tbsp melted chocolate or caramel drizzle for a fancy touch
How I Make It
Step 1:
I preheat my air fryer to 350°F for about 3 minutes so it’s nice and hot. While that warms up, I mix 1 cup peanut butter, 3/4 cup granulated sugar, and 1/4 cup brown sugar in a medium bowl until smooth. Stir in the egg, 1 tsp vanilla, 1 tsp baking soda, and 1/4 tsp salt. If you want richer cookies, fold in 2 tbsp melted butter. The dough smells nutty and sweet — irresistible.
Step 2:
Use a tablespoon or small cookie scoop to portion dough into balls (about 1.5 tablespoons each). Roll them lightly between your palms — the dough sticks a touch, so wetting your hands stops the mess. Place the dough balls in a single layer in the air fryer basket, leaving about 2 inches between cookies so they can spread. I usually do 6–7 cookies per batch depending on basket size.
Step 3:
Gently press each ball with a fork twice to make that classic crosshatch pattern. This helps them spread evenly and gives those pretty ridges. Slide the basket in and air-fry at 350°F for 6–8 minutes. I aim for the edges to turn golden brown while the centers look just set and slightly glossy. You’ll hear a soft sizzle as they finish — that’s the butter and sugars caramelizing.
Step 4:
Remove the basket and let the cookies rest in the basket for 2 minutes; they firm up as they cool. If you like a sprinkle of flaky sea salt or a few mini chocolate chips, add them now so they melt into the warm cookies. Transfer to a cooling rack after 2–3 minutes to avoid tipping or sticking.
Step 5:
Serve warm for maximum gooey joy, or let them cool completely for a chewier bite. The tops will crackle and the inside stays tender. Store any leftovers in an airtight container at room temperature for up to 3 days — though they rarely last that long in my house.
Pro Tips
- For even baking, preheat your air fryer to 350°F and shake the basket or rotate a tray halfway if your model cooks unevenly.
- If dough seems too wet (older peanut butter can be oily), add a tablespoon of quick oats to firm it up without changing flavor.
- Want softer cookies? Pull them at 6 minutes. Want crispier edges? go for 8 minutes and let them cool on a rack.
- Make sure your cookie spacing gives each cookie room to spread — overcrowding leads to misshapen cookies.
Common Mistakes to Avoid
- Skipping preheating: Classic rookie move. It changes texture and bake time.
- Overmixing: Leads to dense or chewy results. Mix until just combined.
- Guessing cook time: Always use visual cues or a timer, not just vibes.
- Overcrowding pans: Give your food some breathing room to crisp properly.
Alternatives & Substitutions
- Swap peanut butter for sunflower seed butter to keep it nut-free — flavor stays rich but slightly greener in taste.
- Replace sugars with 1/2 cup coconut sugar for a deeper, molasses-like note; texture stays similar.
- Gluten-free? These are naturally gluten-free as written — just double-check labels on baking soda and vanilla.
- Dairy-free option: skip the optional butter or use vegan butter — cookies remain fantastic.
Variations & Tips
- Chocolate-studded: Press 10–12 mini chocolate chips into each dough ball before baking for melty pockets.
- Salted caramel: Drizzle warm caramel and a pinch of flaky salt over cooled cookies for grown-up sweetness.
- Spicy twist: Add a pinch of cayenne or cinnamon to the dough for a surprising kick.
- PB & jelly thumbprint: Make a small well in each cookie after pressing with a fork and add a dab of jam before or after baking.
- Mini sandwich cookies: Spread a little Nutella or peanut butter cream between two cooled cookies for extra decadence.
FAQ (Frequently Asked Questions)
- Can I make this ahead of time?
- Yes! Mix the dough and portion into balls, then freeze on a tray. Transfer to a zip-top bag and bake from frozen — add 1–2 minutes to the cooking time.
- Can I double the recipe?
- Sure thing. Work in batches so you don’t overcrowd the air fryer. Doubling the dough is easy; just keep the same cook time per batch.
- Can I substitute butter with oil?
- Technically yes, but you’ll miss that buttery magic. Use ¾ the amount of oil if you swap (so about 1½ tbsp oil for 2 tbsp butter).
- How do I know it’s done?
- Look for golden edges and a set but slightly glossy center. The cookie will feel soft but not gooey; it firms while cooling. If edges look pale after 8 minutes, add a minute or two.
- What if I don’t have ingredient X?
- No panic. No vanilla? Use a splash of maple syrup. No brown sugar? Replace with extra granulated sugar and a teaspoon of molasses or leave it out — cookies will be a touch less caramel-y.
How I Like to Serve It
I love these warm with a tall glass of cold milk or a steaming cup of coffee. They make a fast dessert for potlucks and pair surprisingly well with salty cheeses on a snack board. In summer, stick a scoop of vanilla ice cream between two cookies for an instant sandwich. They brighten gloomy afternoons and travel well to picnics.
Notes
- Store cookies in an airtight container at room temperature for up to 3 days, or freeze baked cookies for up to 1 month.
- If you’re serving with meat dishes, remember safe cooking temps (e.g., chicken to 165°F) — not directly relevant here, but always good to mention.
Final Thoughts
Closing: You just made a batch of warm, irresistible peanut butter cookies with almost no fuss — now go impress someone (or just enjoy them all yourself) with your homemade masterpiece!