
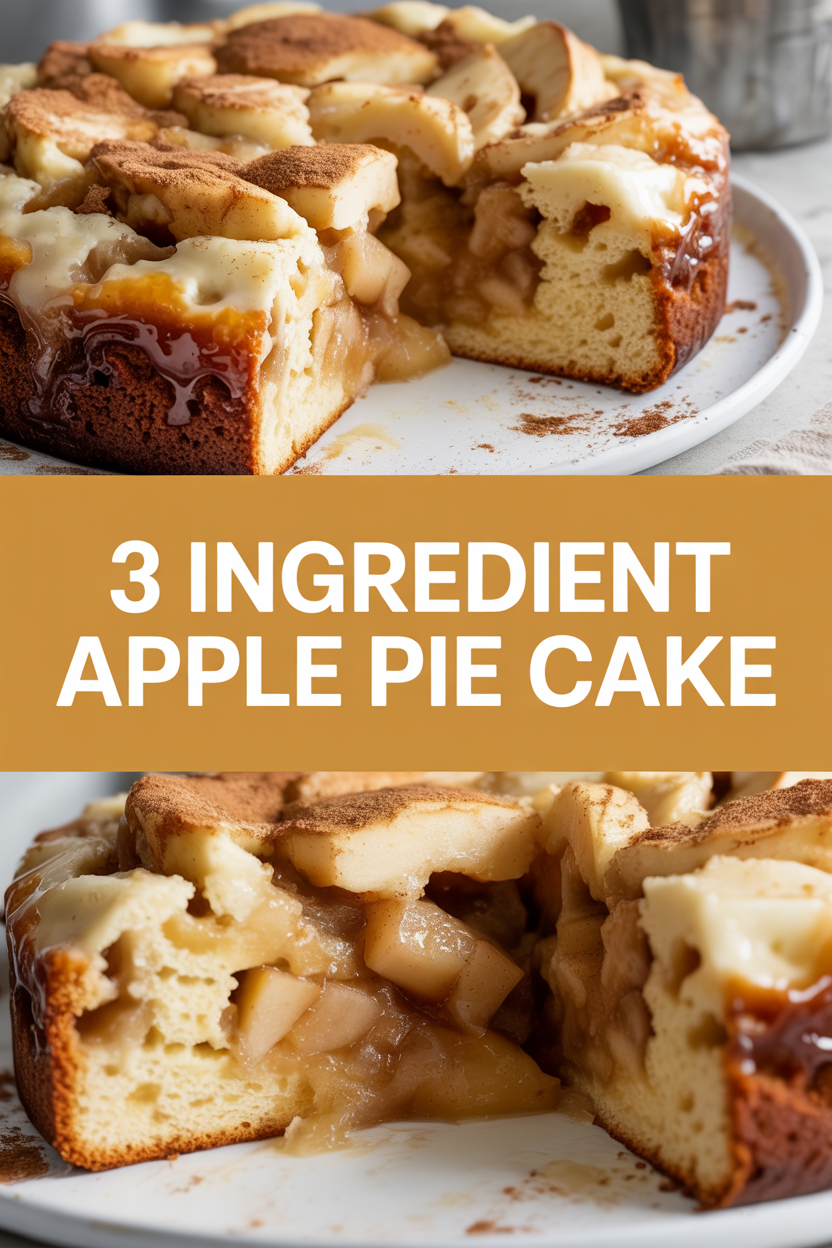
There’s nothing fancier than something that smells like a family kitchen and takes almost no effort — that’s the vibe I chase on tired weeknights and lazy Sundays. I imagine you: a warm pan on the table, the house smelling of bubbling apples and browned butter, and everyone saying, “Did you make pie?” The truth? It’s an honest, cozy cheat — a three-ingredient apple pie cake that gives you pie’s nostalgia without fuss. It crisps at the edges, stays gooey in the middle, and makes the whole house feel like a hug. Bring on the soft blankets and the good mugs — this one’s comfort food that actually fits into real life.
Quick Facts
- Yield: Serves 6–8
- Prep Time: 10 minutes
- Cook Time: 35–45 minutes
- Total Time: 45–55 minutes
Why This Recipe is Awesome
This recipe tastes like apple pie, but it behaves like a lazy genius. You get crunchy, golden edges, a tender cakey top, and a jammy, spiced apple interior that bubbles and smells irresistible. It’s foolproof: dump, sprinkle, pour, and bake. It’s so easy even your oven can’t mess it up. Plus, cleanup stays mercifully brief — win, win.
Ingredients
For the Main Dish:
- 1 (21 oz) can apple pie filling (or 3 cups peeled and sliced tart apples tossed with ¼ cup sugar + 1 tsp ground cinnamon)
- 1 (15.25 oz) box yellow or vanilla cake mix
- 8 tbsp (1 stick) unsalted butter, melted (about ½ cup)
For the Sauce / Garnish (if applicable):
- Optional: vanilla ice cream or whipped cream for serving
- Optional: sprinkle of ground cinnamon or a drizzle of caramel sauce
How I Make It
Step 1:
Preheat your oven to 350°F. Grease a 9×13-inch baking pan with a little butter or nonstick spray so the edges crisp up nicely. Pour the entire can of **apple pie filling** into the pan and spread it into an even layer — watch for glossy chunks of apple and that rich amber syrup. If you use fresh apples, toss them with cinnamon and sugar first so they caramelize.
Step 2:
Sprinkle the **dry cake mix** evenly over the apples. Don’t mix it in — keep the layers. The cake mix forms the crumbly, golden top while the apples stay saucy below. Pat lightly so the mix sits snug but still dry in places; those dry bits bake up into delicious crunchy pockets.
Step 3:
Slowly drizzle the **melted butter** over the top in a steady stream. Aim to cover as much of the mix as possible; if some spots look dry, pour a little extra there. The butter melts the cake mix into a cobbler-like crust and browns everything beautifully. I like to reserve a tablespoon to brush the edges for extra shine.
Step 4:
Bake at 350°F for about 35–45 minutes, until the top turns **golden brown** and the apple filling bubbles around the edges — you should hear a gentle, satisfying bubble as it cooks. If the top browns too fast, tent with foil for the last 10 minutes. Remove from the oven when the center looks set and the edges sing with crispness.
Step 5:
Let the cake rest for 15 minutes — this helps the juices thicken so the slices hold. Serve warm with a scoop of vanilla ice cream or a generous dollop of whipped cream. Sprinkle a pinch of cinnamon or drizzle caramel for a show-off finish. Trust me: the steam, the sweet-tangy scent, the soft cake against warm apple — perfect.
Pro Tips
- Use room-temperature butter so it pours smoothly and distributes evenly. Cold butter clumps and leaves dry spots.
- For crisper edges, bake in a metal pan. Glass keeps heat longer and makes a softer edge.
- If you prefer less sweet, choose an unsweetened apple filling or use fresh tart apples with just 2–3 tbsp sugar.
- Don’t stir the layers. Mixing ruins the contrast between a crunchy top and saucy apples below.
Common Mistakes to Avoid
- Skipping preheating: Classic rookie move. It changes texture and bake time.
- Overmixing: Leads to dense or chewy results. Mix until just combined.
- Guessing cook time: Always use visual cues or a timer, not just vibes.
- Overcrowding pans: Give your food some breathing room to crisp properly.
Alternatives & Substitutions
- Swap the canned filling for 3 cups fresh apples tossed with ¼ cup sugar + 1 tsp cinnamon; the texture becomes more rustic and less syrupy.
- Use a spice or butter cake mix for a warmer flavor profile (adds cinnamon, nutmeg undertones).
- Dairy-free option: replace butter with melted coconut oil or vegan butter — note it alters the mouthfeel and you’ll lose a bit of that buttery magic.
- Gluten-free: use a certified gluten-free cake mix; texture stays similar but check baking times as mixes vary.
Variations & Tips
- Add ½ cup chopped pecans or walnuts on top before baking for crunch.
- Stir 2 tbsp brown sugar into the apples for a deeper caramel note.
- Make it boozy: mix 1–2 tbsp bourbon or dark rum into the apple filling for grown-up warmth.
- Turn it into a mini dessert: bake in 4–6 ramekins for single-serve portions; reduce baking time to 20–25 minutes.
- Swap apples for peach slices or mixed berries for a seasonal twist.
- Top with an oat-brown-sugar streusel (½ cup oats, ¼ cup brown sugar, 2 tbsp butter) for an extra-textured top.
FAQ (Frequently Asked Questions)
- Can I make this ahead of time?
- Yes! Bake the cake, let it cool, cover, and store in the fridge for up to 3 days. Reheat individual portions in a 350°F oven for 10–12 minutes or microwave briefly, then add ice cream just before serving.
- Can I double the recipe?
- Sure thing. Use a larger pan (like two 9×13 pans or one 11×15) and keep the same temp. Watch the bake time — a deeper pan may need an extra 10–15 minutes.
- Can I substitute butter with oil?
- Technically yes, but you’ll miss that buttery magic. Use ¾ the amount of oil and expect a slightly different crust and mouthfeel.
- How do I know it’s done?
- Look for a **golden top**, crisped edges, and bubbling apple filling around the sides. The center should look set and not jiggly; a toothpick might not penetrate thick fruit, so trust the bubbles and color.
- What if I don’t have ingredient X?
- If you lack canned filling, slice fresh apples and toss with ¼ cup sugar + 1 tsp cinnamon. No cake mix? Make a simple crumb topping with 1 cup flour, ½ cup sugar, and 6 tbsp cold butter — crumble on top and bake slightly longer.
How I Like to Serve It
I serve this warm with melting vanilla ice cream and a sprinkling of toasted pecans on top. It fits every mood: casual movie night, last-minute potluck, or a cozy solo dessert with a mug of tea. In fall, I pair it with spiced cider; in summer, try it with chilled vanilla bean ice cream for contrast.
Notes
- Store leftovers covered in the fridge for up to 3 days. Reheat in the oven at 350°F for best texture.
- Freezing: wrap tightly and freeze for up to 2 months; thaw overnight in the fridge before reheating.
Final Thoughts
Closing: Now go impress someone — or just yourself — with your homemade masterpiece! This little three-ingredient trick saves dinner, dessert, and dignity all at once.