
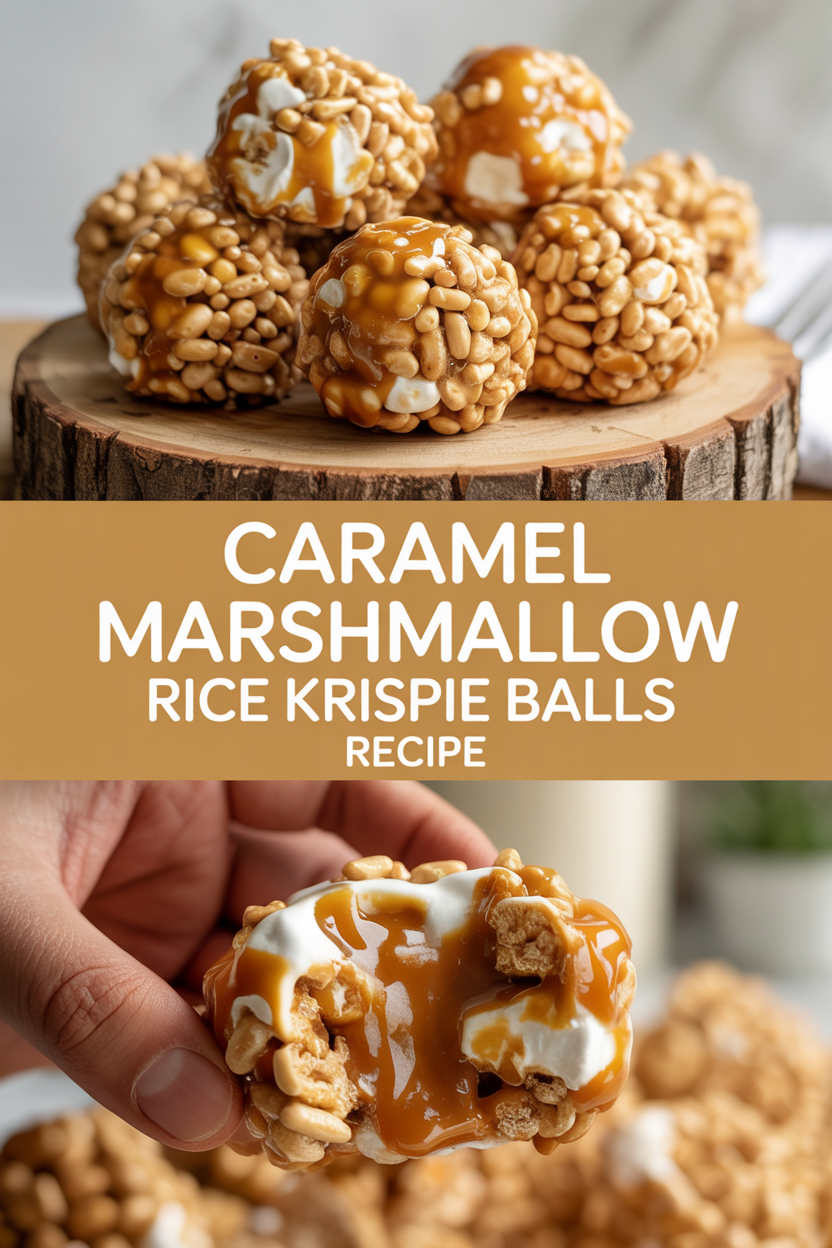
Okay, picture this: I once tried to make these Rice Krispie balls for a party and accidentally told everyone they were “calorie-free” (long story—don’t ask). They still disappeared faster than my dignity. These Caramel Marshmallow Rice Krispie Balls deliver that nostalgic sticky-sweet goodness with a grown-up wink: buttery caramel, gooey marshmallows, and that satisfyingly crispy crunch. I keep the recipe foolproof, because let’s be honest, the only drama I want in my kitchen involves whether to add flaky sea salt or extra chocolate. You’ll smell warm caramel and marshmallow from the moment you melt the butter, and within 25 minutes you’ll have a tray of irresistible, bite-sized puffs of pure joy.
Quick Facts
- Yield: Serves 12 (about 24 balls)
- Prep Time: 15 minutes
- Cook Time: 10 minutes
- Total Time: 25 minutes
Why This Recipe is Awesome
These Rice Krispie balls hit every nostalgia button: crunchy, gooey, sweet, and slightly salty. They take classic marshmallow treats up a notch with real **caramel** for depth and a buttery mouthfeel. They stay tender, not rock-hard, and they travel like champs to potlucks. Plus, they’re so easy your busy self can whip them up between laundry loads—no oven drama, no fancy gear. Who doesn’t love a snack that makes the kitchen smell like a candy shop?
Ingredients
For the Main Dish:
- 6 cups crisp rice cereal (Rice Krispies)
- 4 tbsp unsalted butter (½ stick)
- 10 oz mini marshmallows (one standard bag)
- 1 cup caramel sauce (store-bought or homemade)
- 1 tsp vanilla extract
- 1/4 tsp fine sea salt
- Nonstick spray or a little extra butter for your hands
For the Sauce / Garnish (if applicable):
- 4 oz semisweet chocolate, melted for drizzle or dip (optional)
- Flaky sea salt, chopped toasted pecans, or sprinkles for finishing
How I Make It
Step 1:
I warm a large, heavy-bottomed saucepan over medium-low heat and add the 4 tbsp butter. When the butter smells nutty and melts, I stir in the 1 cup caramel sauce until it softens into a glossy pool. The aroma here smells like toffee heaven—don’t lick the spoon… unless you have no self-control (guilty).
Step 2:
Next, I add the 10 oz mini marshmallows and stir constantly with a silicone spatula. Keep the heat low so the marshmallows melt smoothly—watch for a slow swell and glossy sheen. Remove the pan from the heat and stir in the 1 tsp vanilla and 1/4 tsp sea salt.
Step 3:
I tip the 6 cups rice cereal into a giant bowl and pour the caramel-marshmallow mixture over it. Then I fold gently—use a spatula, not a whisk—until every flake gets coated. You want a uniformly sticky, golden mixture, not a smashed cereal mush. The texture should look glossy and the sound when you stir should be soft and chewy.
Step 4:
I spray my hands lightly with nonstick spray (or rub a little butter on them), scoop about 2 tablespoons per ball, and roll quickly into tight spheres. If the mix feels too sticky to handle, I pop the bowl into the fridge for 10 minutes to firm up. This gives you clean rolls and less sticky drama.
Step 5:
For finishing, I either drizzle melted chocolate over the balls or dip half of each ball into chocolate, then sprinkle with flaky sea salt or chopped pecans. I chill them on a parchment-lined tray for 15 minutes until set, then listen for the disguised crunch as someone bites in.
Pro Tips
- Heat low and steady: keep to medium-low heat so marshmallows melt without burning—scorching tastes sad and acrid.
- Measure the cereal, don’t eyeball: too much cereal makes dry balls; too little makes a gloopy mess.
- Chill briefly if sticky: a 10-minute rest in the fridge makes rolling infinitely easier.
- Make them uniform: use a small cookie scoop (about 2 tbsp) to get consistent sizes for even set and prettier presentation.
Common Mistakes to Avoid
- Skipping preheating: Classic rookie move. It changes texture and bake time.
- Overmixing: Leads to dense or chewy results. Mix until just combined.
- Guessing cook time: Always use visual cues or a timer, not just vibes.
- Overcrowding pans: Give your food some breathing room to crisp properly.
Alternatives & Substitutions
- Use gluten-free crispy rice cereal for a gluten-free version—texture stays nearly identical.
- Swap butter for coconut oil to make them dairy-free; expect a faint coconut flavor and slightly softer set.
- Replace caramel with peanut butter (¾ cup) for a nutty twist—adds richness and chew.
- For lower sugar, use a sugar-free caramel and mini marshmallows labeled low-sugar, though texture will vary.
Variations & Tips
- Peanut Butter Caramel: swirl in 2 tbsp creamy peanut butter with the caramel for nutty depth.
- S’mores Style: mix in crushed graham crackers and mini chocolate chips; torch lightly for charred aroma.
- Spicy-Sweet: add a pinch of cayenne to the caramel for a warm, surprising kick.
- Fruity Fun: substitute half the cereal with Fruity Pebbles for a colorful, kids’ party hit.
- Boozy Caramel: stir 1 tbsp bourbon into the caramel for grown-up flavor (don’t serve to kids).
FAQ (Frequently Asked Questions)
- Can I make this ahead of time?
- Yes! Make the balls, place them in an airtight container layered with parchment, and keep them at room temp up to 3 days or in the fridge up to 1 week. Freeze for up to 2 months and thaw on the counter for 30 minutes before serving.
- Can I double the recipe?
- Sure thing. Use a very large bowl for mixing, and work in batches when rolling so the mixture doesn’t set before you finish.
- Can I substitute butter with oil?
- Technically yes, but you’ll miss that buttery magic. Use ¾ the amount of oil and expect a slightly different texture and flavor.
- How do I know it’s done?
- You’ll see glossy, evenly coated cereal and feel a tacky-but-holdable texture when you roll. After chilling, the balls should hold their shape with a soft, chewy center and audible crunch on the first bite.
- What if I don’t have ingredient X?
- No panic—substitute store-bought caramel sauce for melted caramels, or swap mini marshmallows for regular marshmallows chopped up. If you lack chocolate, a sprinkle of toasted nuts makes a lovely finish.
How I Like to Serve It
I serve these at movie nights, bake sales, and holiday cookie swaps. They pair wonderfully with a glass of cold milk or a warm cup of coffee—the caramel brings out the coffee’s richness. For summer potlucks, I keep them chilled and let them sit out 10 minutes before serving so they become chewy again. They double as edible gifts when stacked in a small box with parchment.
Notes
- Store in an airtight container at room temperature for up to 3 days, or in the fridge for up to 1 week. Freeze for up to 2 months.
- Not relevant here, but when cooking meat remember safe internal temps (e.g., 165°F for chicken).
Final Thoughts
Closing: Go make these sticky, crunchy, caramel-packed clouds of happiness—then hide a couple for yourself before anyone notices. You’ve got this!